

How To Install A Ceiling Fan On An Angled Ceiling
Disclosure: We may get commissions for purchases made through links in this post.
Having a ceiling fan in your home is a neat manner to keep the entire room cool without the costs of running an air conditioner all 24-hour interval. Although it might seem similar a formidable task when you're just starting, information technology'south like shooting fish in a barrel to replace an old lighting fixture with a new ceiling fan if you know the correct way to do information technology. Still, what if the ceiling is sloped? Are you out of luck? Non necessarily; installing your new ceiling fan on a sloped ceiling can be done more easily than you remember!
Here are the steps to installing a ceiling fan on a sloped ceiling:
- Turn the electricity off in the circuit billow box.
- Remove the old ceiling box.
- Purchase a clopped fan with a hanger bar if the fixture is between two ceiling joists.
- Attach the ceiling plate or bracket.
- Purchase a fan kit.
- Screw the awning over the fan box.
- Attach the fan blades.
- Plow the power back on and test your fan.
Whoa, that's a lot of steps! Don't worry because, in this article, we will discuss each of these steps in detail. Plus, we will talk about what tools you lot will need and answer other common questions on installing a ceiling fan.

How to install a ceiling fan on a sloped ceiling
Removing the old fixture
Turn the electricity off in the excursion breaker box
When working with electricity or wiring, you should always cutting power to the area before touching anything else. Locate the circuit breaker box in your home and turn off the power to the room or area your ceiling fan will be installed in.
Some homes will have multiple breaker boxes, with one principal and several sub-breaker boxes in different places. If y'all have multiple breaker boxes, plow off power at the sub-breaker box and the central box before start piece of work.
Remove any screws belongings the onetime fixture in place
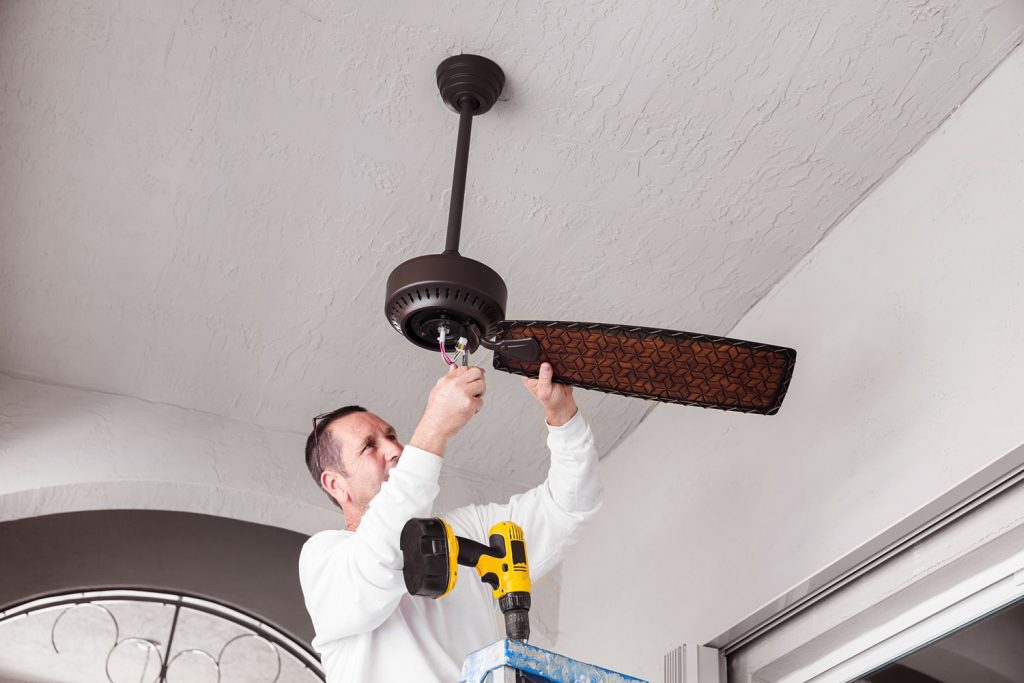
Utilise a ladder or footstep-ladder to safely climb up towards the roof to give y'all access to the fixtures. Hold the fixture in identify with ane hand as you remove whatsoever screws securing it to the roof. Once they accept been taken out, the old fixture should detach from the ceiling on a clopped ceiling fan.
Disconnect the wires from the old electrical fixture
Locate the bespeak where the wires from the fixture are held to the wires coming from the ceiling with plastic connectors. Ensure something other than the wires supports the fixture and begin unscrewing and removing each plastic connector. One time disconnected, lower the fixture from your ceiling and discard it or store information technology somewhere prophylactic for time to come use.
Remove the former ceiling box.
The ceiling box is a circular metal fitting that other fixtures attach to. Look for whatever screws or nails holding the quondam ceiling box in place and remove them. Push the circuit box further into the clopped ceiling, or attempt to pry information technology out to remove it.
Attaching the new ceiling box
Purchase a fan with a hanger bar if the fixture is between two ceiling joists
A hanger bar is an extendable rod that volition hold taut between two ceiling joists and give you something to attach the fan to. Employ a small flashlight to look into the hole in your ceiling where your new ceiling box volition be installed.
If yous don't see a long piece of woods straight higher up the hole, your ceiling box is likely being installed between two joists. Locate the studs in your ceiling to be sure.
Attach the ceiling plate or bracket
The ceiling plate or fan subclass is the fixture that they will suspend your fan from. Hold the ceiling plate up to the fan box and pull all the wires through the hole in its centre. Use the provided screws to secure the ceiling plate in place tightly.
Assembling the Ceiling Fan
Purchase a fan kit
This will contain all the parts you demand to get together and mount a new ceiling fan. Fan kits should exist bachelor from your local hardware store, as well as online. Buy a fan that fits the size of the room where it will exist installed.
Adhere the downrod to the fan torso
The downrod is the long metal pipe that is used to distance the fan from the ceiling. Keeping the fan's trunk on the ground, thread the wires attached to the fan through the downrod. Sit the downrod in identify on the meridian of the fan body. Tighten the locking screws effectually the base of the downrod until they fastened it to the fan body.
Elevator the fan upward to the ceiling
Utilise a ladder or stepladder to lift the fan assembly towards the sloped ceiling carefully. Most fans volition have some method to append them but below the ceiling while y'all connect the wiring.
Connect the neutral wires
The neutral wire provides a return path for the electric current coming into the fan and ordinarily has a white insulate covering. Hold the two neutral wires together and twist the stripped ends together. Utilise a plastic wire connector to hold them together and secure them with electrical record.
Connect the ground wires
The ground wire will ordinarily be dark-green or entirely blank and is used to prevent electric shocks. Detect the two ground wires, twist them together and secure them with a plastic wire connector. Employ electrical tape to keep the wires and the connector in place.
Connect the remaining wires
Any remaining wires will exist hot wires used to provide power to the fan and whatsoever light fittings attached to it. These will ordinarily be black but maybe a unlike color in different wiring schemes. Twist the remaining wires together and secure them with a plastic wire connector and electric tape.
Tuck the wires into the fan box
Advisedly push button the wires coming from the ceiling back into the fan box to secure them. As you lot do, make sure the wire connectors and electrical tape stay secure, and no wiring is exposed.
Mounting the fan
Screw the awning over the fan box
The awning will lift from the downrod and comprehend the wiring and socket used to hold the fan in place. Use the provided screws to secure the canopy to the fan box and keep the fan together.
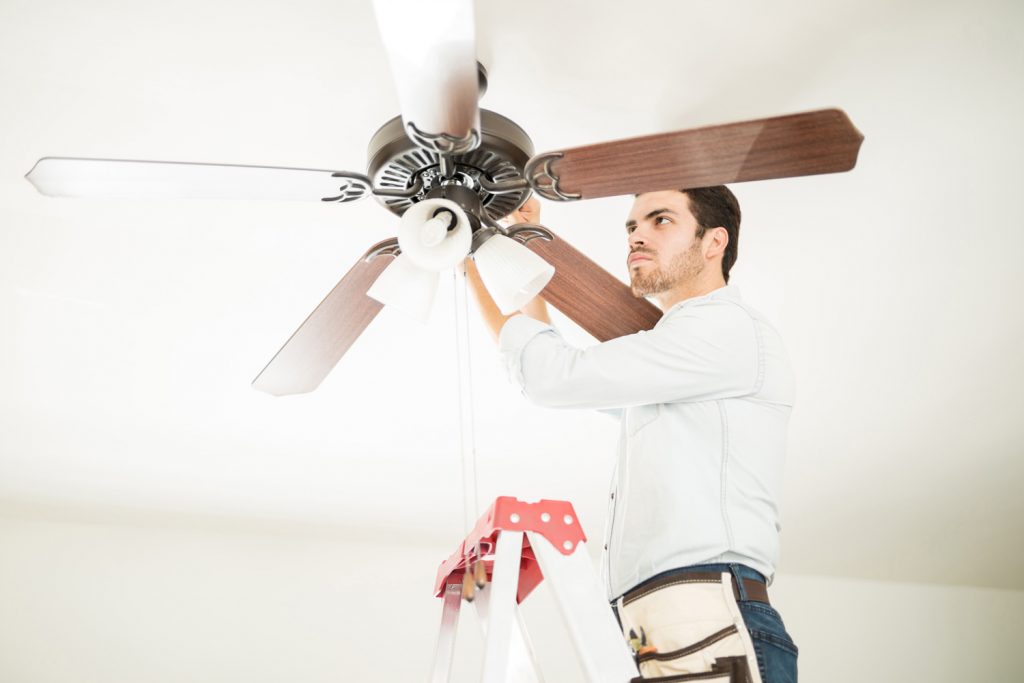
Attach the fan blades
I by one, lift the fan blades to their mountings on the fan motor. Slot them into place according to the manufacturer's guide, and employ the provided screws to secure them to the motor tightly.
Plough the power back on and exam your fan
Go back to the excursion breaker box or boxes and restore power to the sections of your home. Turn the fan on the wall and watch it for a few minutes to make certain it works as intended.
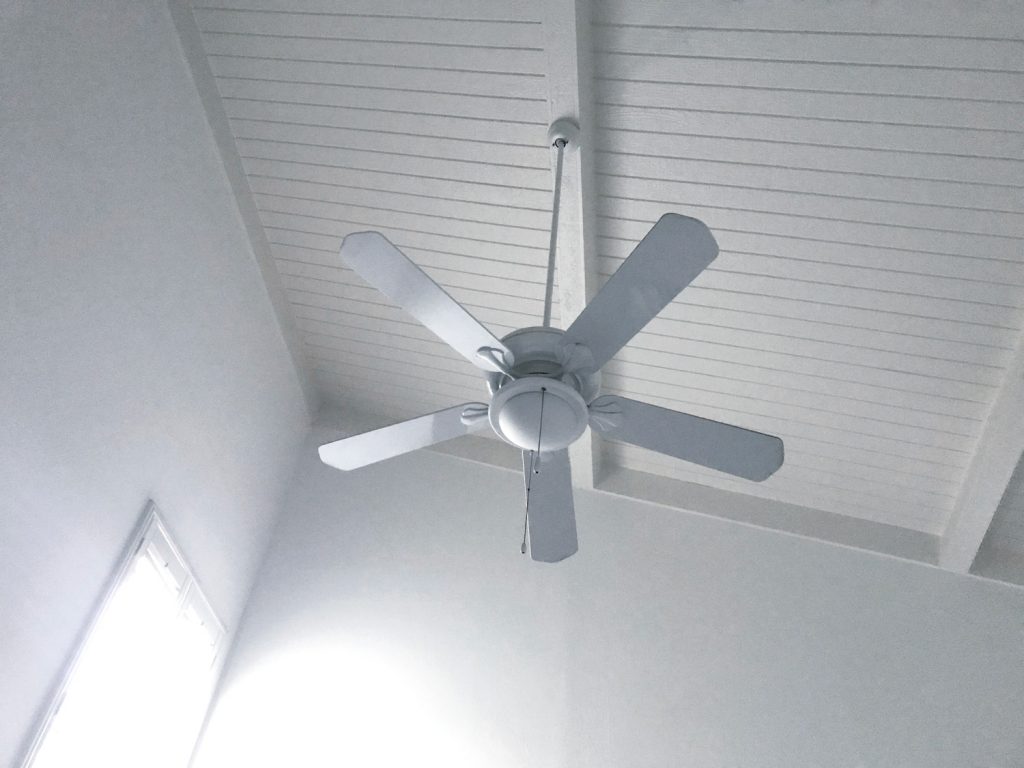
Volition A Flush Mountain Ceiling Fan Work On A Slanted Ceiling?
A affluent mountain ceiling fan can work on a slanted ceiling if they have an adapter, and a downrod is used to fit vaulted or sloped ceilings. The adapter and downrod both add elevation to the ceiling fan, which may defeat the idea of a flush mount ceiling fan for your purposes.
How Practise You Measure A Ceiling Fan Downrod For A Sloped Ceiling?
The most common method used to find the correct downrod length is to take the ceiling height, subtract the top of the ceiling fan (well-nigh fans are betwixt 12 and 18 inches in height depending on the fan), and and so subtract the desired hanging acme (unremarkably viii feet).
For example, if your ceiling is 12 feet high and your ceiling fan is 12 inches in summit, you volition need a 24-inch downrod to mountain the ceiling fan between eight and nine feet in a higher place the floor. Yous tin also refer to the downrod length nautical chart below for additional guidance in selecting the right measurement.
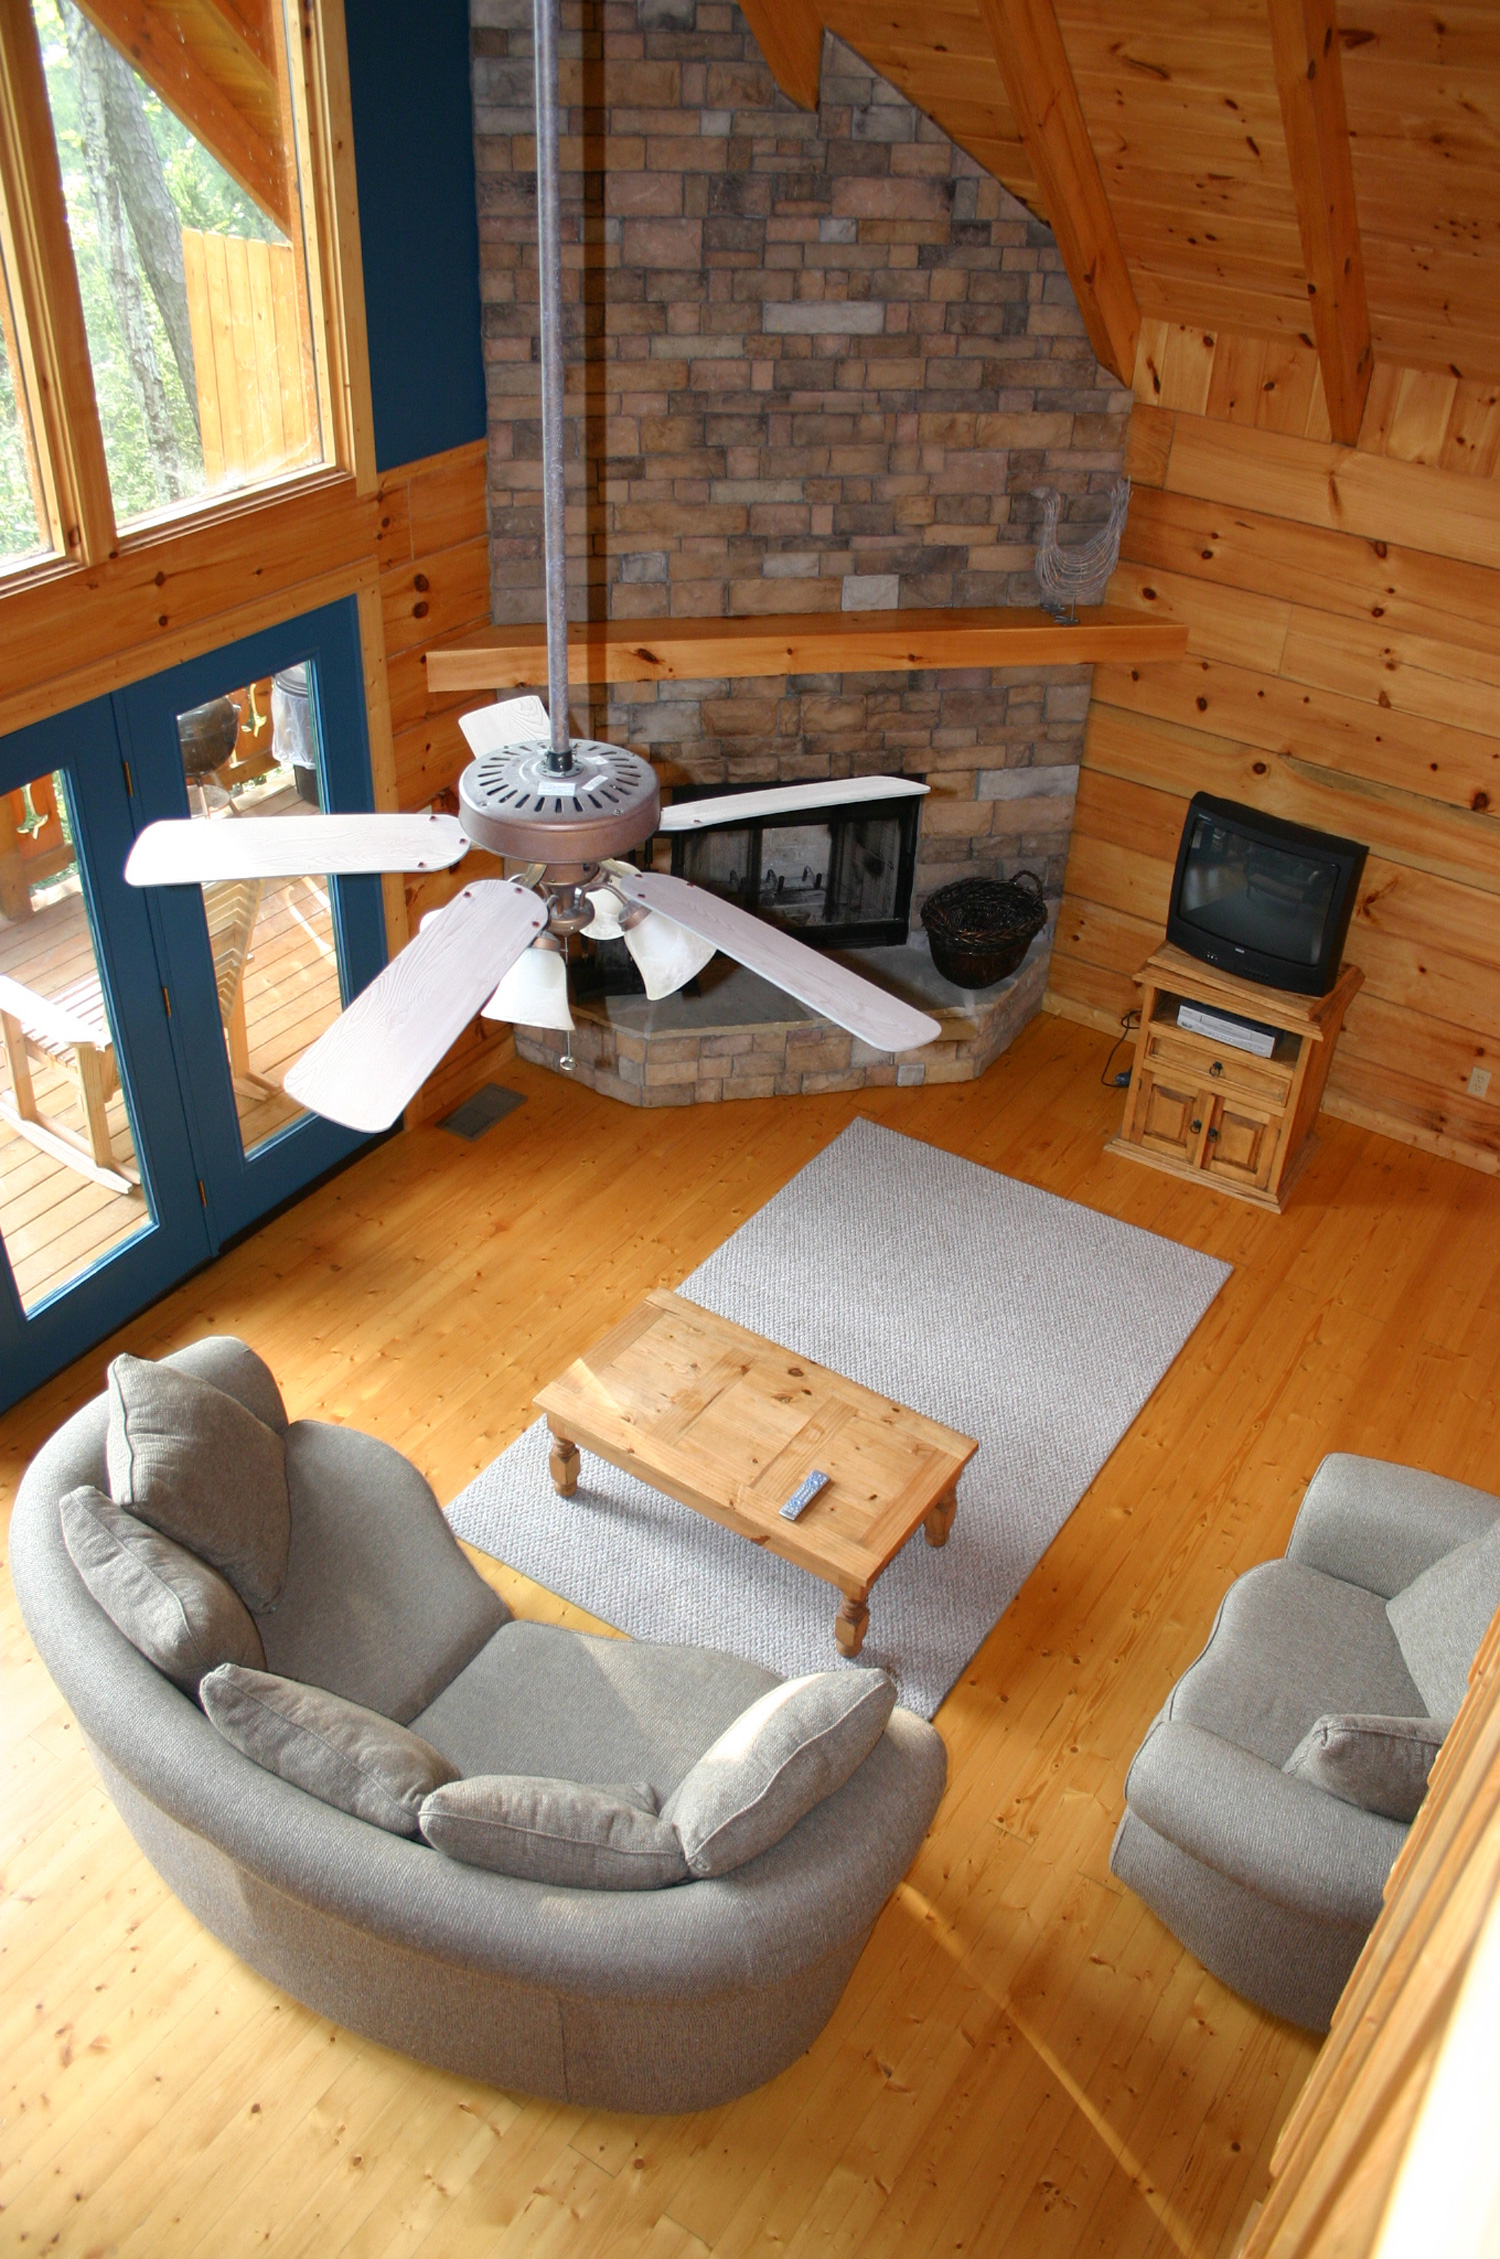
How Far Should A Fan Hang From The Ceiling?
Ceiling fans should be installed or mounted in the middle of the room and at to the lowest degree seven feet above the floor and 18 inches from the walls. If ceiling height allows, install the fan viii - 9 feet above the floor for optimal airflow.
Tin Ceiling Fans Be Installed At Any Angle?
For those who want to install a ceiling fan and accept a slightly angled or raked ceiling, don't worry at all! Most (but not all) ceiling fans on the market today tin can be installed on a ceiling angled up to 28 degrees with no problem or any extra accessories needed.
In Closing
Getting a new ceiling fan in your home tin be exciting, but every bit yous tin can see above, it can exist a process! What makes it even more difficult is when the ceiling is sloped instead of flat. Nonetheless, it can be washed with a little bit of patience.
If you enjoyed this commodity, you might also similar:
Practise Cathedral Ceilings Need Ventilation?
Tin Ceiling Fans Overheat?

Source: https://hvacseer.com/install-ceiling-fan-on-sloped-ceiling/
Posted by: thortondoeut1990.blogspot.com
0 Response to "How To Install A Ceiling Fan On An Angled Ceiling"
Post a Comment